


Floor Pillow Project

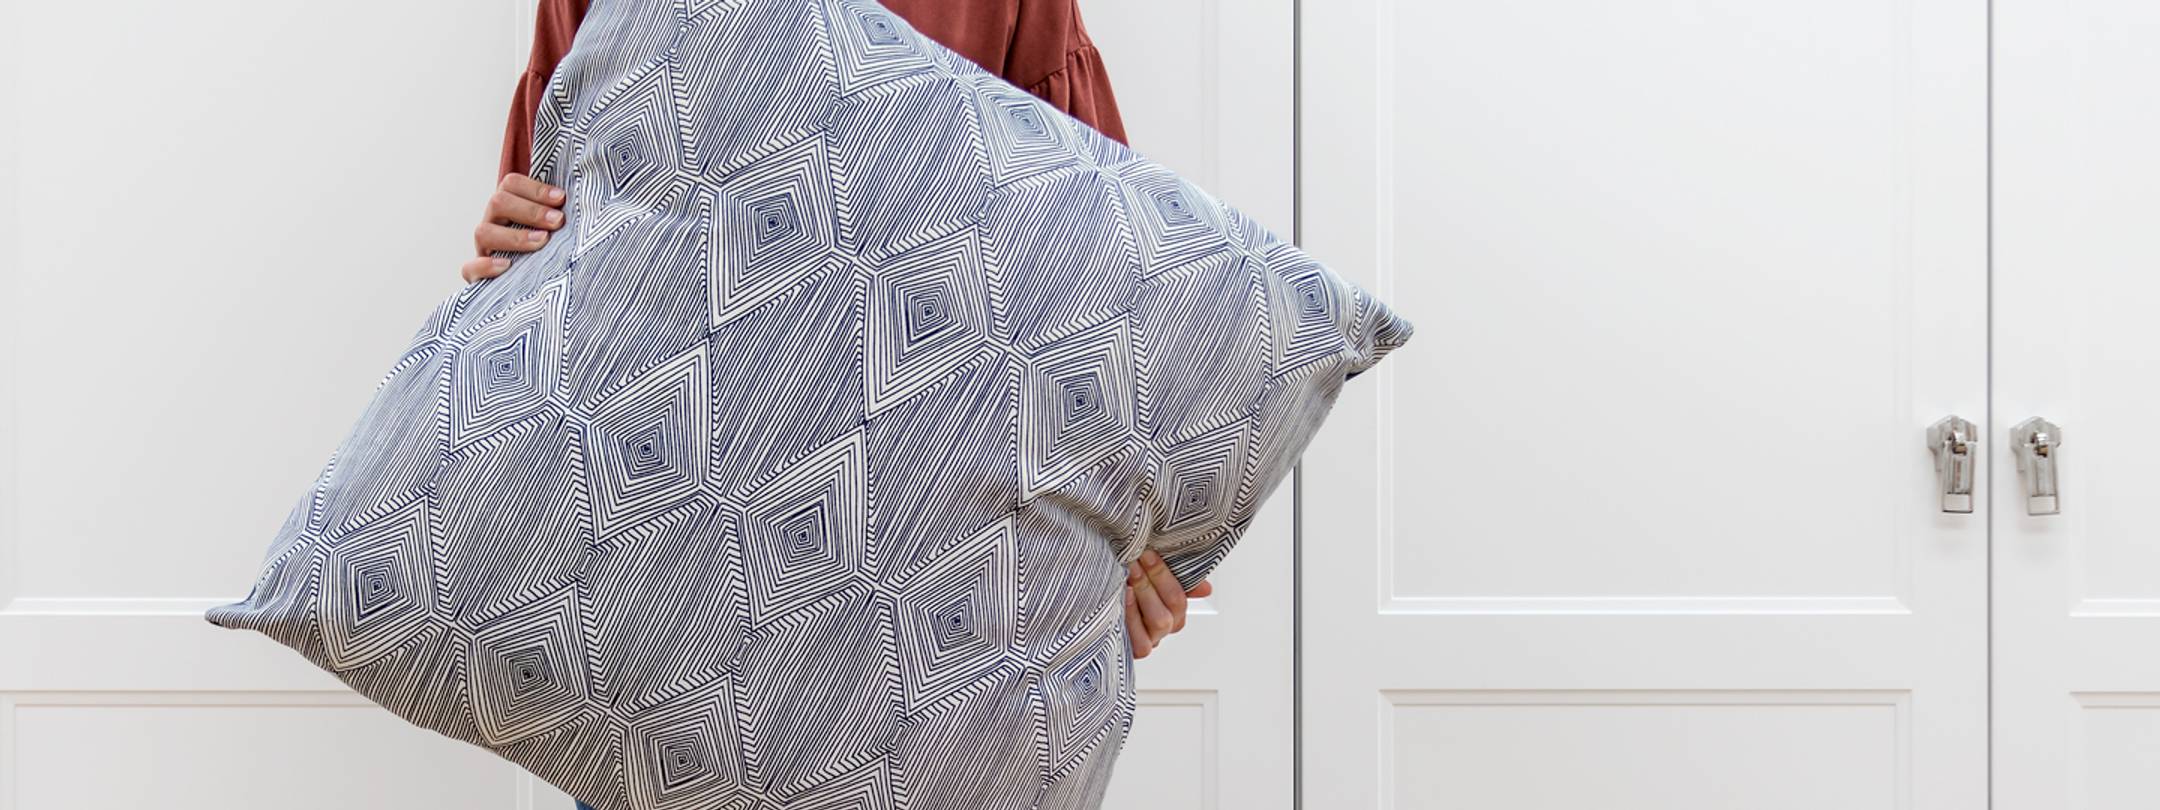
Decorating with floor pillows is an easy way to update a space. And when you make them yourself, you control the pillow’s color, texture, size and details. We are really loving the look the exposed zippers add to these pillows. The zipper detail combined with some eclectic fabrics makes these pillows really fresh and on-trend. Stack them in any room, and voilà – your space is refreshed!

Supply List
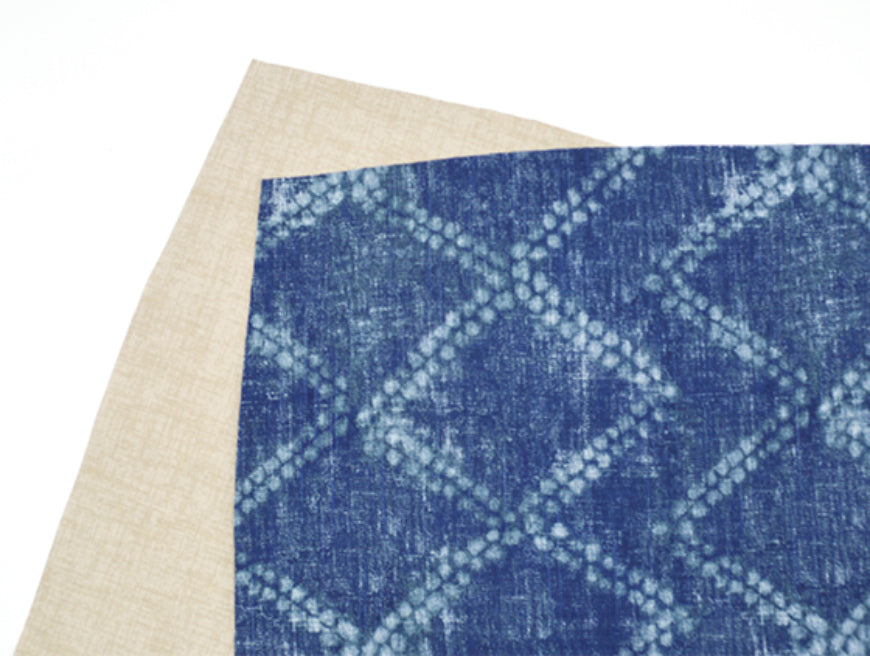
- Fabric – 7/8 YD each of 2 different home décor fabrics
- 28” Pillow Insert
- Dritz Home Brass Upholstery Zipper Chain – cut to 28”
- Dritz Home Zipper Slides
- Dritz Fine Point Mark-Be-Gone® Marking Pen
- Dritz See-Thru Ruler
- Dritz Fray Check® Liquid Seam Sealant
- Dritz Wash Away™ Wonder Tape
- Iron and Pressing Surface
- Sewing Machine – with zipper foot and basic sewing supplies
- Needle Nose Pliers
- Serger (optional)
Step 1: Cut a 28” square from each fabric. To eliminate floppy “dog ears” on pillow points, follow this tutorial to reduce the fabric in the corners. (Due to the size of this pillow, we marked 6” from each corner and not 4”.)
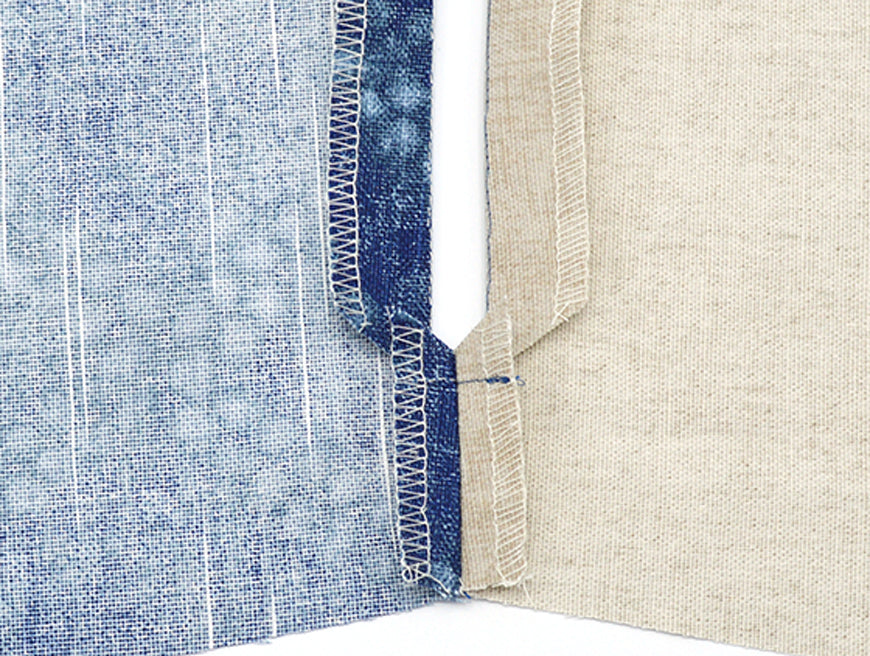
Step 2: Finish the edge of the fabric squares along the side that will have the zipper with a zig-zag stitch or serge stitching. This will keep the fabric from unraveling easily as the zipper is installed. You can finish all the edges of the fabric squares if you would like.

Step 3: On each fabric square, mark 1 ½” in and ¾” down from each corner of the zipper seam. (A) Draw a line, ¾” from edge of square, connecting the 2 marks. (B) At each mark, draw a short perpendicular line from the mark to the edge of the fabric. (C) This is your stitching line for the zipper opening.

Step 4: Stitch along your drawn lines on each fabric square; pivoting at each corner and backstitching at beginning and end. (We used a contrasting thread to show our stitches.)

Step 5: With right sides together, line up the end stitching lines of the zipper opening. Use a pin to help you match the corners.

Step 6: Stitch with ½” seam allowance from the outer edge to a few stitches into the top zipper opening. Backstitch at beginning and end. Repeat at the bottom of the zipper opening.

Step 7: Cut an angled slit to each corner of the zipper opening. Be sure to not cut the stitches. Apply Fray Check liquid seam sealant to cut fabric edges.

Step 8: Press ½” seams at top and bottom of zipper open. Press long edges of zipper opening along stitching lines. Do not press small ends of zipper opening.
Step 9: With wrong side up, lay strips of Wash Away Wonder Tape along edges of zipper opening. Remove backing paper.

Step 10: Turn pillow over and position zipper chain under opening. Center zipper in opening with center of teeth about ¼” from the edges. Push zipper against tape to hold in place. Be sure to keep triangle ends of zipper opening free. If desired, you can also use pins or fabric glue to hold zipper in place.

Step 11: Flip pillow to wrong side and stitch just the zipper tape and seam allowance together. Using a zipper foot, stitch directly over the stitching lines along each side of opening. Do not catch triangle ends in stitching.

Step 12: On right side, fold triangle ends of zipper opening under and tuck to wrong side. Mark 1 zipper tooth on each side of chain directly below the stitching line. Repeat at the other end of zipper.

Step 13: Separate zipper chain. Remove the tooth by each mark. This will provide a gap to stitch the zipper end at the opening without damaging your needle.

Step 14: Insert zipper slide onto zipper chain from the bottom of zipper, following package instructions. (The round top of the teeth point up.) Close zipper to about 1” from top opening.

Step 15: On wrong side, pull back excess fabric around triangle ends. Pin ends to zipper. Stitch triangle ends to zipper, directly over opening end stitches. Carefully stitch over gap in zipper chain. You may want to turn the machine hand wheel by hand to make sure you do not hit any teeth.

Step 16: Trim off excess zipper chain at both ends.

Step 17: Open zipper a few inches. With right sides together, pin and stitch remaining sides of pillow together with ½” seam allowance. Pivot at corners and backstitch at beginning and end of stitches. Trim corners and turn right side out through open zipper.

Step 18: Insert pillow form and close zipper.

You love? We do! When you begin planning your floor pillow project, get creative with your fabric choices. We had several vintage fabrics in our stash that we knew we wanted to use for these pillows. That was our starting point. Those fabrics paired with a generously sized 28” pillow insert and exposed zipper really give these floor pillows presence.