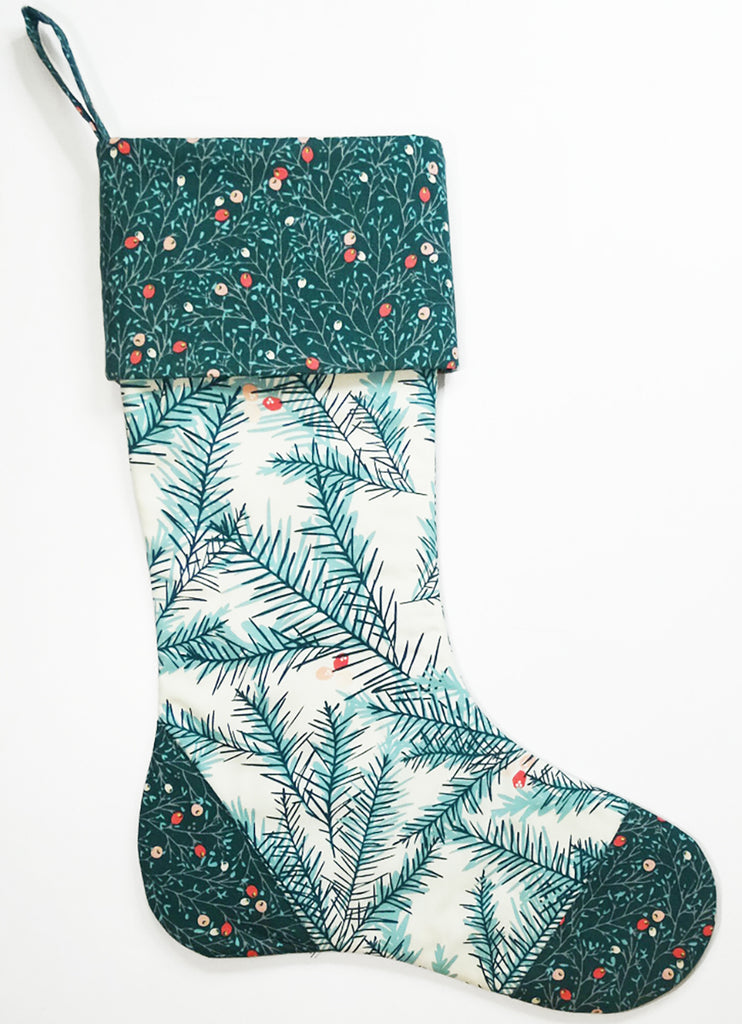
Holiday Stockings Project

Stockings are a must for holiday decorating and gift giving. The best gifts come in tiny boxes that are tucked in the toe of the stocking! But have you ever pulled out the entire lining while pulling out that precious gift? This stocking is the exception! The lining is secured throughout so it can last a lifetime of searching for that tiny gift nestled in the toe.
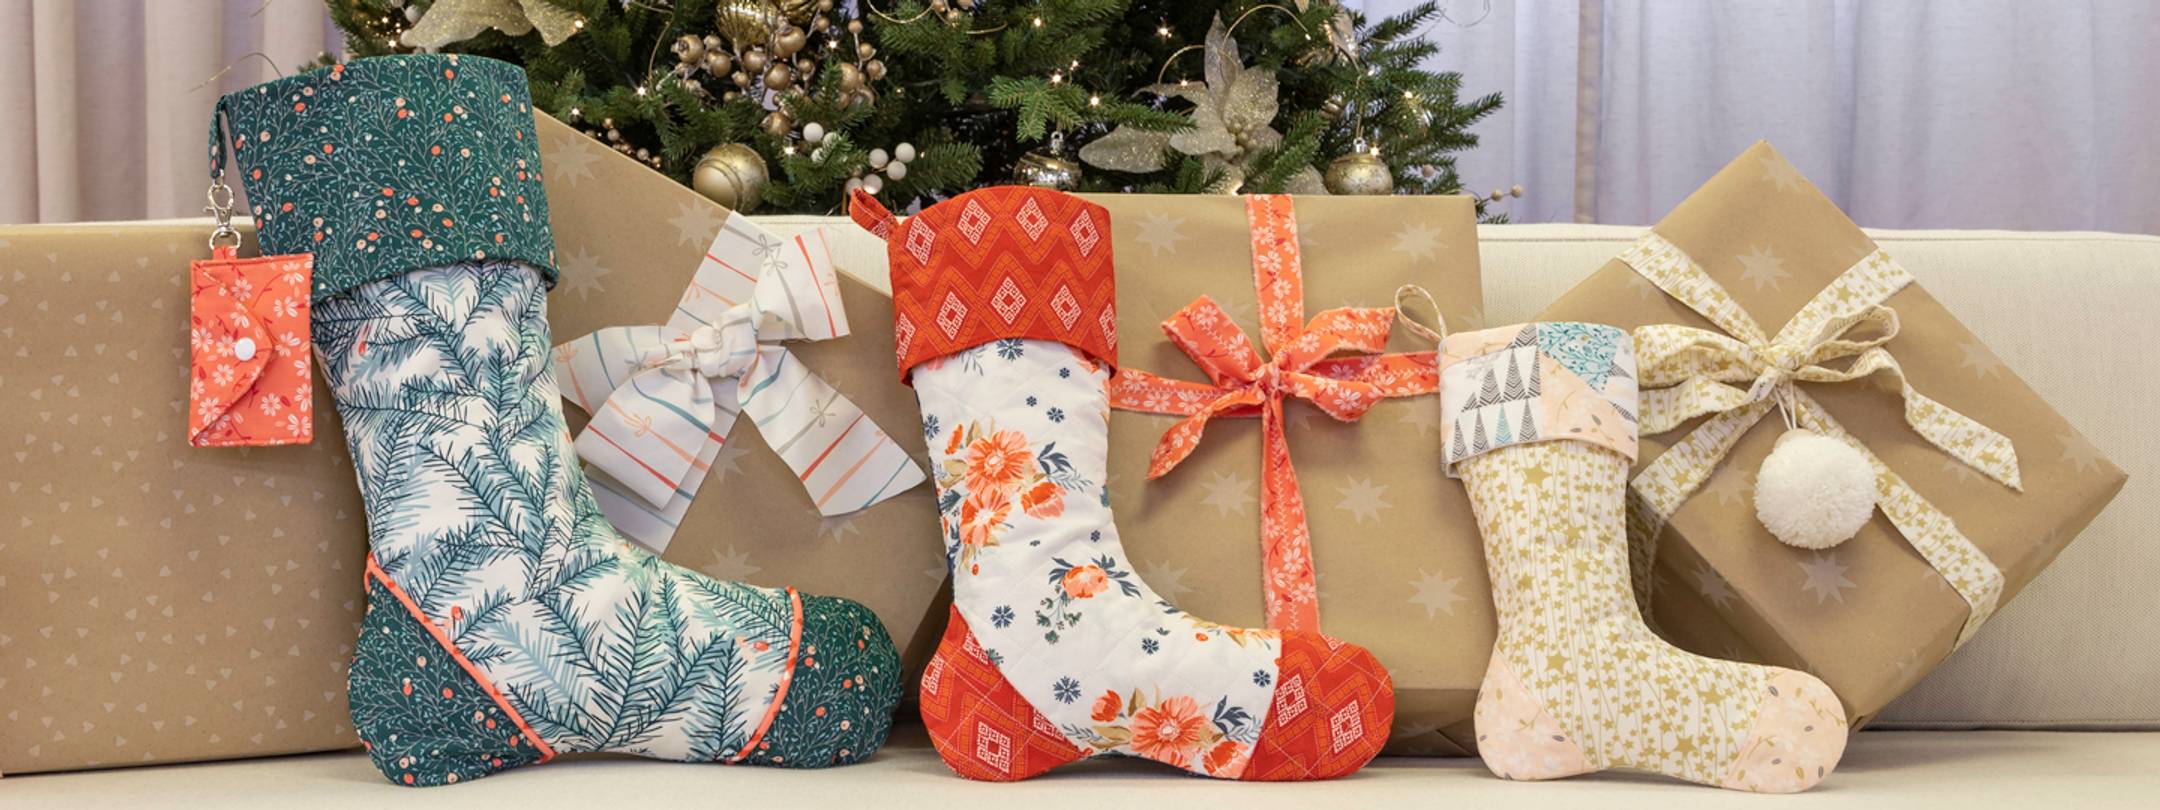
This stocking can be basic or elaborate. Quilt, embellish with ribbons, trims, buttons or pom poms and tassels. Use home dec fabrics or quilting fabrics. Consider fabrics like taffeta or burlap for distinctly different end results. Appliqué the toes or cuff. Personalize it! Make it as a gift or keep it for yourself! Everyone needs a stocking for the holidays!
Supply List
- Mini Stocking 3/8 YD Stocking Fabric, 1/4 YD Contrasting Fabric, 3/8 YD Lining, 3/8 YD Needlepunch Batting
- Small Stocking 1/2 YD Stocking Fabric, 1/4 YD Contrasting Fabric, 1/2 YD Lining, 1/2 YD Needlepunch Batting
- Medium Stocking 5/8 YD Stocking Fabric, 1/4 YD Contrasting Fabric, 5/8 YD Lining, 5/8 YD Needlepunch Batting
- Large Stocking 3/4 YD Stocking Fabric, 1/2 YD Contrasting Fabric, 3/4 YD Lining, 3/4 YD Needlepunch Batting
- Stocking Pattern PDF
- Omnigrid 8-½” Fabric Scissors
- Dritz Mark-Be-Gone® Marking Pen
- Dritz 1-3/8” Extra-Fine Glass Head Pins
- Dritz See-Thru Ruler, Omnigrid 3-1/2” x 24” Ruler or Dritz 60” Tape Measure
- Sewing Machine and Thread
- Embellishments, such as Buttons, Flat Trims, Pom Poms or Tassels

Cutting Instructions
Step 1a: Print out pattern at 100%. See the guide showing how printed pages look when printed and joined. Measure the 1” size square to make sure you are printing at actual size.

Step 1b: Each page has match points at the corners. Trim away excess white paper at corner match points or along stocking lines to make alignment easier. Align pages making sure stocking cut lines are lined up. Tape where pattern lines meet.

Step 1c: Cut out individual pattern pieces.

NOTE: If you choose to embellish, it is good to plan in advance. Some trims need to be inserted as you make the stocking, while others can be added when stocking is complete. If you are creating a quilted stocking, prepare quilted piece first and then use pattern to cut stocking.
Step 2: Place patterns on fabric so grainline arrows are parallel to selvage. Cut the number of pieces printed on each pattern piece.

Step 3: Use marking pen to transfer toe and heel guidelines to stocking.

Assembly Instructions
Note: All seams are 3/8”.
Step 1: Place stocking batting on wrong side of each stocking piece. Pin.

Step 2: Baste batting to fabric along edges just outside of the 3/8” seam line. Trim batting to stitch line.

Step 3: Fold inner edge of each toe 3/8” toward wrong side. Pin to stocking aligning toes to guideline and outer curved edges.
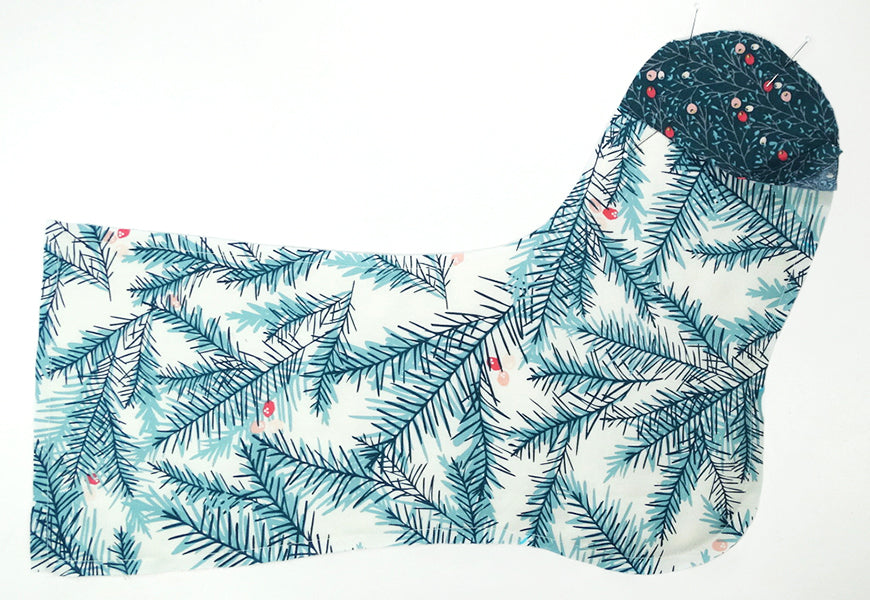
Step 4: Repeat step 3 with heel pieces. Check to make sure folded edge of toe and heel align on front and back stocking before stitching.
Step 5: Topstitch toes and heels close to fold. Baste outer curved edge of toes and heels to stocking.

Step 6: Place stocking pieces right sides together, aligning heels and toes. Stitch around stocking leaving top edge unstitched. Do not turn right side out.

Step 7: Pin cuff to batting right side up, following steps 1– 3.

Step 8: Pin cuff lining to basted cuff along bottom edge, right sides together. Stitch.

Step 9: Trim seam allowance to 1/4”. Press toward lining.

Step 10: Fold cuff and cuff lining right sides together, lining up short ends and stitched seam. Stitch. Press seam open.

Step 11: Fold cuff lining to inside of cuff along stitched bottom edge to make a tube. The lining may extend about 1/8” above the outer cuff; this is normal. Pin and baste top edges. Trim off the extra 1/8” of lining so top edges are even. Press.

Step 12: Hanger: Pattern makes a hanger that is 3” long finished, for mini and small stockings and 4” long for medium and large stockings. Fold long edges of hanger 3/8” toward wrong side and press. Fold again, lining up pressed edges. Press the new fold. Stitch along folded edges.
 Step 13: Line up cut ends of hanger, forming a loop. Baste together. Pin hanger to seam on right side of cuff, lining up cut edges. Baste along existing basting line.

Step 14: Turn cuff so lining side faces out. Fold in half at back seam; mark the front fold.

Step 15: Slip cuff inside stocking with seam lined up to back seam of stocking. Lining side of cuff will face right side of stocking. Pin top edges together, aligning front cuff fold to front seam of stocking. Seams at top edge of stocking should be opened flat. Baste along previous basting line.

Step 16: Lining: Pin stocking lining right sides together. Stitch sides and foot together, leaving a 5” opening unstitched on back seam (4” for small and mini), 3” below top of stocking (2” for small and mini).

Step 17: Lining and stocking should both be wrong side out. Pin lining to stocking around top edge, right sides together, matching front and back seams. Be sure toes face same direction. Stitch. Trim seam allowance to 1/4".

Step 18: Flip lining completely over stocking, aligning foot and side seams. Pin.

Step 19: Stitch lining to stocking on seam line, starting just below lining seam opening. Continue around foot to front top edge, stopping about 3” below top seam. TIP: Sew with lining side down so that you can more easily follow the previously stitched seam. If lining stitch line doesn’t match new stitch line perfectly, it won’t matter.

Step 20: Trim seam allowance to 1/4", leaving the 5” opening untrimmed. Clip inner curves every half inch. TIP: Trimming seam allowance to 1/8” around entire foot and ankle will eliminate the need to clip. Be sure to use the stocking stitch line as a guide, not the lining stitch line.

Step 21: Turn stocking lining side out by reaching inside the lining, grabbing the toe, and pulling entire stocking through 5” opening.

Step 22: Pin opening closed. Slipstitch to finish. Lightly press lining/cuff seam and slipstitched opening.

Step 23: Turn stocking right side out by pulling it through the top opening.

Step 24: Press all edges. Fold cuff down over top of stocking. TIP: For a longer stocking, simply leave cuff unfolded. After all, it is finished inside and out!

Your stocking is ready to hang!