


Crochet Pumpkins Project
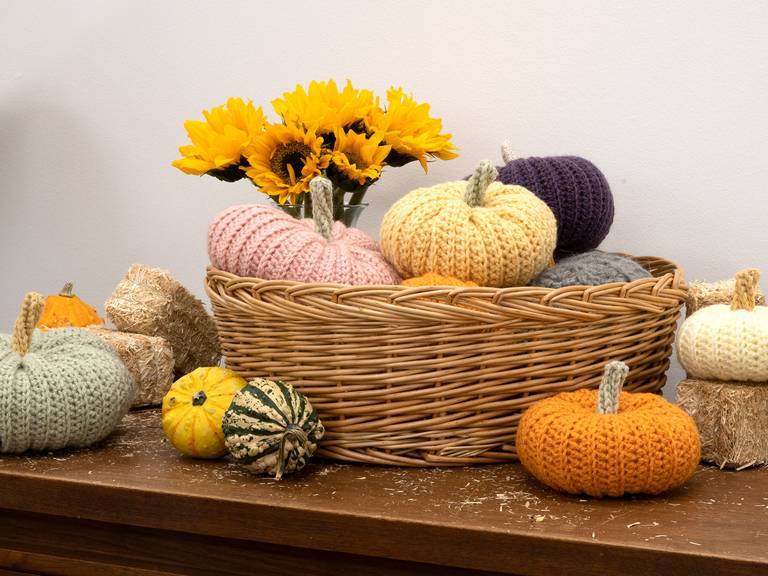
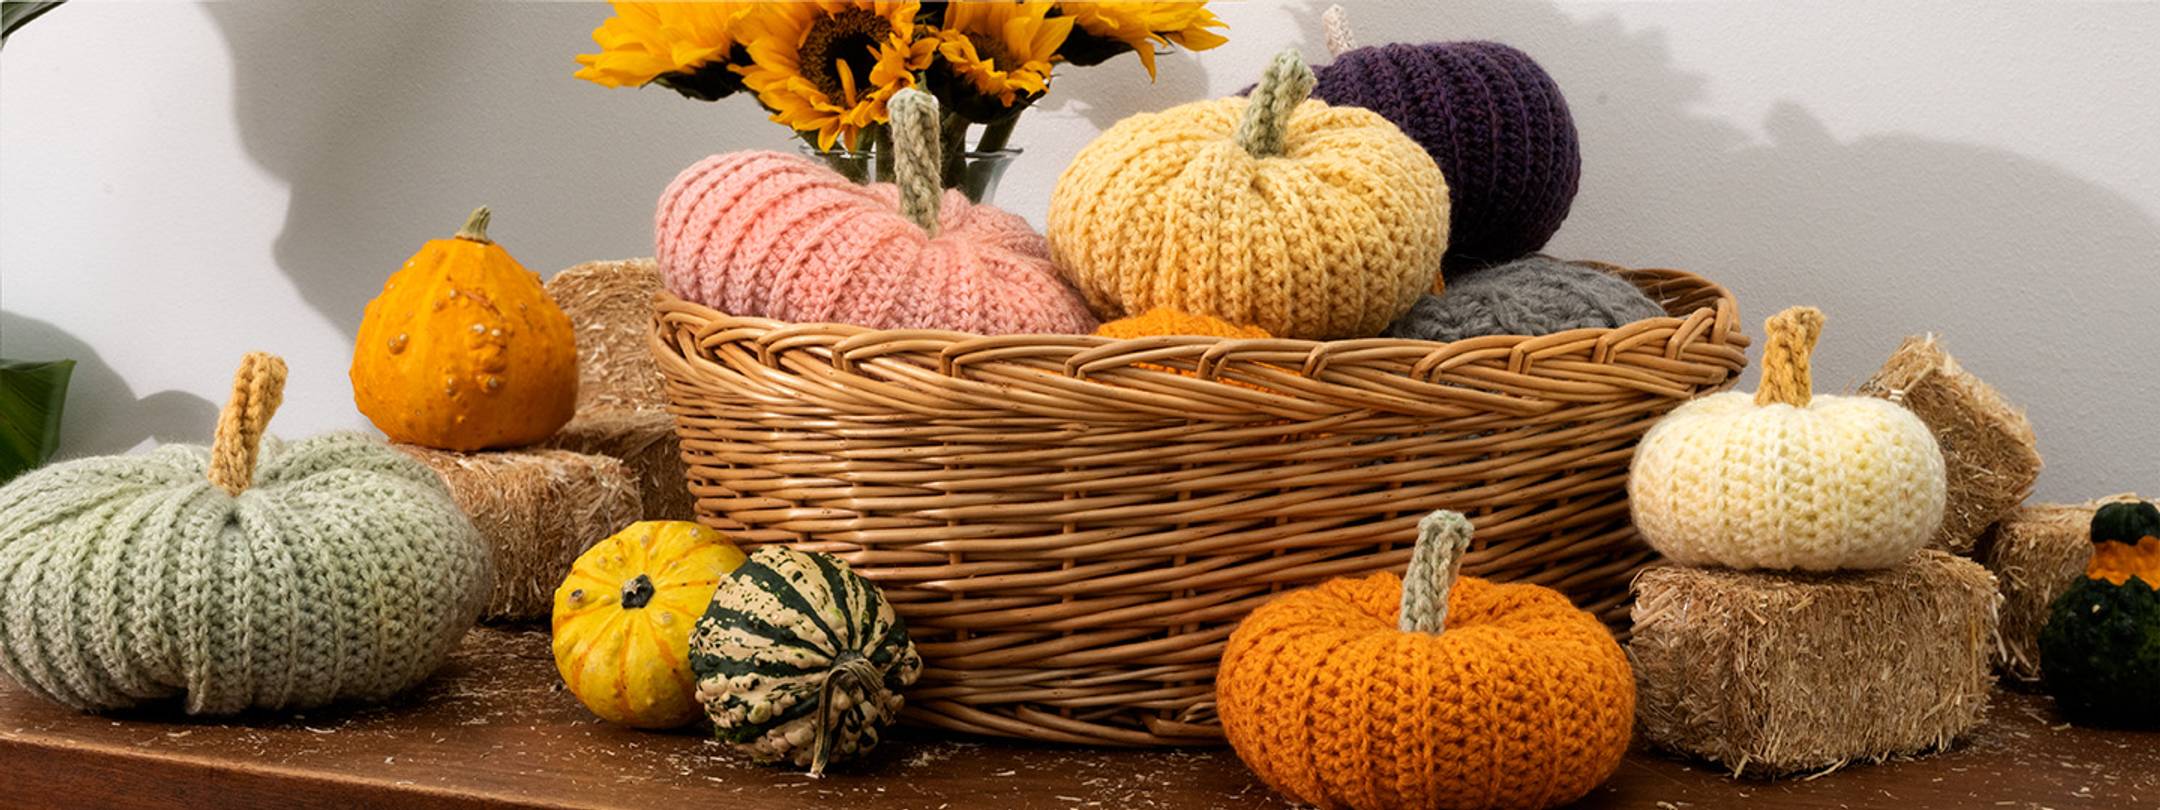
Who doesn’t love Fall Décor? This pumpkin works up quickly with any size yarn and uses just a simple half double crochet and single crochet stitch. Make them in many sizes and colors to add to your favorite autumn decorations.
Notes:
- Any size yarn can be used to make a pumpkin. Use a crochet hook that is 1 to 2 sizes smaller than recommended for the yarn. This will create a tighter stitch to help prevent the fiberfill from showing through stitched pumpkin.
- Add additional chain stitches for a taller pumpkin and make longer for a wider pumpkin.
- Stem can be a little tricky to make. You can just hot glue a twig to the top of the pumpkin for a stem!
- Gauge: not important for this pattern
Abbreviations:
CH = Chain
HDC = Half Double Crochet
SC = Single Crochet
Supplies:

- Prym Ergonomics Crochet Hook – US H
- Worsted weight yarn (size 4) in pumpkin and stem colors
- Yarn or Tapestry Needle
- Fiberfill
- Needlework scissors
- Yarn

1: Make a slip knot with a long 18” to 20” tail. CH 22.

2: Row 1: Start in back loop of second chain, HDC across row, CH 1 (does not count as stitch).

3: Row 2: Start in back loop of first stitch, HDC across row, CH 1 (does not count as stitch).

4: Row 3: HDC across row, CH 1 (does not count as stitch).

5: Repeat Rows 2 and 3 until work is about 2 ½ times longer than width. Finish on right side of work (Row 2).

6: Stitch short ends together with long tail. Weave in ends.

7: Thread yarn needle with about 36” of yarn and pull needle to middle so yarn is doubled (provides extra strength). Along lower edge, pick up every 3rd stitch and pull yarn ends to gather up edge. Tie yarn ends together to secure and weave in ends.

8: Stuff pumpkin with fiberfill.

9: Like lower edge, thread yarn needle with about 36” of yarn. Pick up every 3rd stitch on the top edge and pull yarn ends to gather up edge. Knot to secure.

10: To define pumpkin, push needle and yarn down into top center and out bottom center of pumpkin. Take some small stitches and bring needle back up through center of pumpkin. Pull yarn to draw up pumpkin slightly. Take a few stitches and tie yarn in knot to secure. Weave ends into pumpkin. For taller pumpkin, don’t pull yarn as tight.

11: For stem, crochet a simple cord. Make a slip knot with an 18” tail. Place knot on crochet hook.

12: Wrap tail yarn around hook from front to back.

13: Loop working yarn around hook and pull through both loops. Continue for 8 to 12 stitches depending on how long you would like the stem.

14a

14b: You have now created a cord with 3 stitch loops and 2 back loops.

15: Working up and down cord, SC in each stitch and back loop. This will create 5 ridges with a slight twist along stem. Add 1 CH if needed to get to next row loops.

16: Cut long tail of yarn and pull thorough last stitch. Weave in beginning tail and use final tail to attach stem to pumpkin.

WARNING: These pumpkins are highly addictive. Bet you can't make just one!