


Christmas Tree Skirt Project
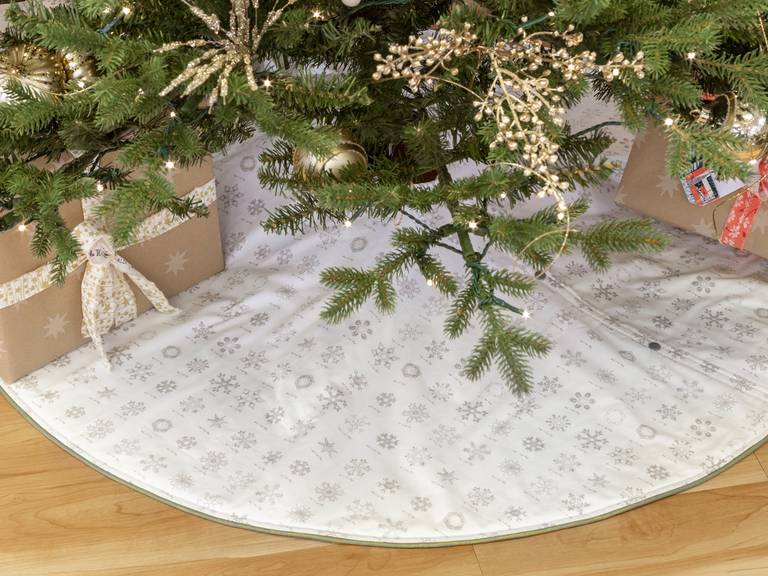

Add a handmade touch to your Christmas tree! Make this skirt with fun Christmas prints or use it as a base for quilting, embroidery, painting with stencils, appliques, ruffles, and so much more! This quick tree skirt is simply placed around tree base and edges are snapped together to secure. Use 2 different fabrics and it can be reversed!
Notes:
-
Finished size: approximately 43” diameter
-
½” seam allowances
Supplies:

- 1-1/4 yard of fabric for main color
- 1-1/4 yard of fabric for lining (or second main fabric to make it reversible)
- 1-1/4 yard of cotton batting
- Dritz® Superboard, foldable cutting board
- Pushpins
- Dritz Home® 36” Anodized Aluminum Straight Edge yardstick
- Dritz® disappearing ink fine point marking pen
- Dritz® curved safety pins
- Dritz® plastic snaps
- Dritz® pliers for plastic snaps
- Omnigrid® stainless steel fabric scissors
- Matching thread, sewing machine, iron, and basic sewing supplies
- Optional piping: 4 yards
Instructional Steps:
1: Fold fabric in half and then in half again to form a square. It will be 4 layers thick.

2: Use a superboard, pushpins, yardstick, and marking pen to draw a circle on the fabric. Insert a pushpin through the point of the folded corner of fabric and into Superboard to secure. Do not completely unfold Superboard and pin through 2 layers of the Superboard to prevent any damage to work surface. Use additional pushpins to keep fabric from shifting.

3: Slip hole in yardstick onto the pushpin. This hole is at the 1” mark so final measurement of circle will be 1” shorter than the marking on yardstick.

4: Position the marking pen point at 23”. Draw an arc from one edge to the other. Make a second mark at 3” mark. This will be the opening around the base of the tree.
5: Cut along marks to cut out circle and tree opening.

6: Along one of the fabric folds, cut a full slit in circle.
7: Repeat steps 1 - 6 to cut lining (or second Main fabric) and batting.
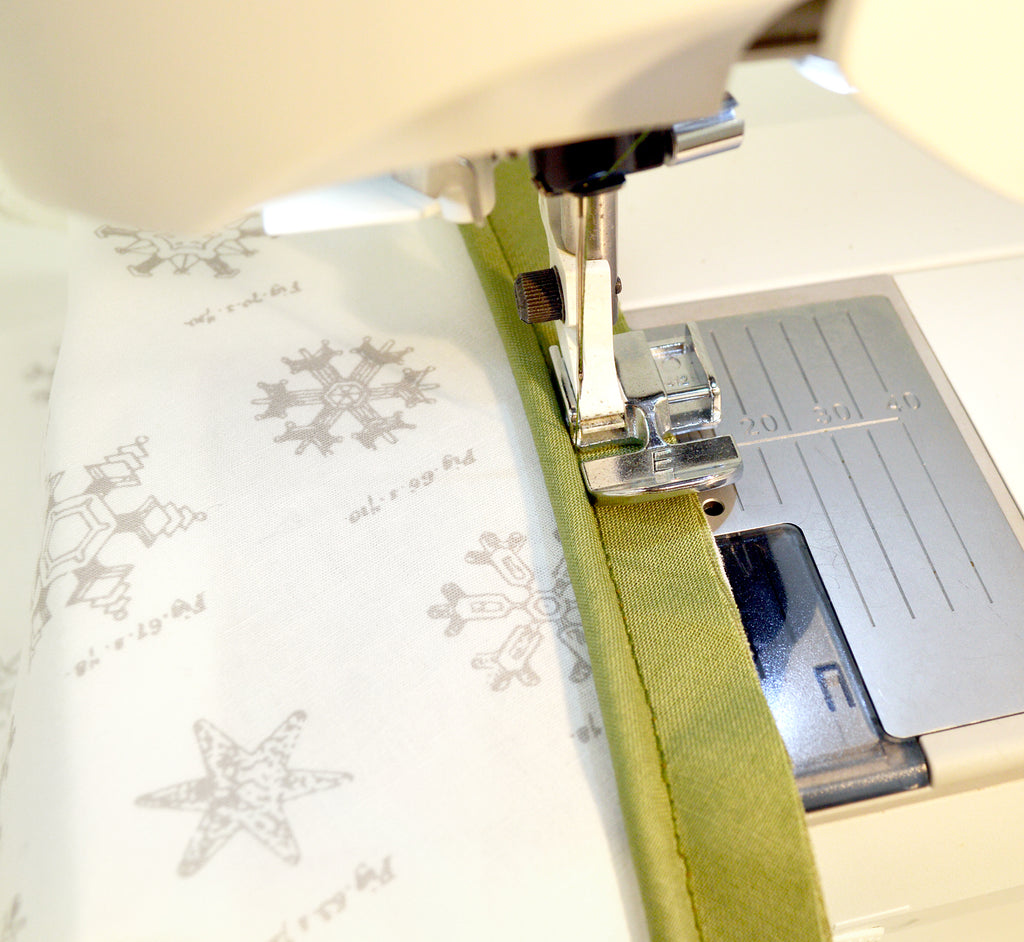
8: Optional Piping: On right side of main fabric, stitch piping to outside edge of circle with ½” seam.

9: Place lining, right sides together, on main fabric circle. Layer batting over wrong side of lining fabric. Pin through all layers to reduce shifting.

10: With ½” seam, stitch layers together along all edges. Keep a 4” to 6” opening on one side of circle slit.
11: Trim seams and turn right side out through slit opening. Press seams flat.

12: Hand stitch opening closed. Topstitch at ¼” along all edges of tree skirt and a second row of stitches at ¾” along both slit edges. This will create an area for the snaps.

13: Apply 4 snaps along slit edges (between stitching lines), overlapping edges about 1”. Use the centering side of yardstick to determine even spacing between snaps.

Quick + Easy sums up this project! You can embellish this simple tree skirt with quilting, appliques, adhesives, or anything else that comes to mind. Happy Holidays!